
The Making Of monotrino, Part 6
Actually, this should be more like “The Remaking, Part 1”. But I’ve decided instead to continue the series, even though I have pretty much abandoned my previous bare perfboard build approach.
Also: this post covers one full week (two weekends, actually), but I didn’t have time to post before. This time I will let the pictures do (almost) all the talking!

Two Sundays ago I had my first experience with stripboard: nothing fancy, just cutting a 16x4cm piece and drilling holes for the screws. Man, I thought that was easier :-)
Apropos screws: you may think screws, nuts & bolts are the easiest parts to obtain. Think twice. M2.5, minimum length 12mm, preferably black: those aren’t the kind of screws you find at the hardware store around the corner. I ended up ordering some online from a model making shop. Kind of expensive, too!

This is the panel design I’ve been working on since… too long. It’s carefully crafted and painfully aligned in SVG, using Inkscape.
And this is a rough paper model of the case, just to check what it would look like once built. And guess what? Me no like :-)
It’s just too big, at 25x18cm. I want something more compact. So I redesigned it (took a couple iterations) like this:

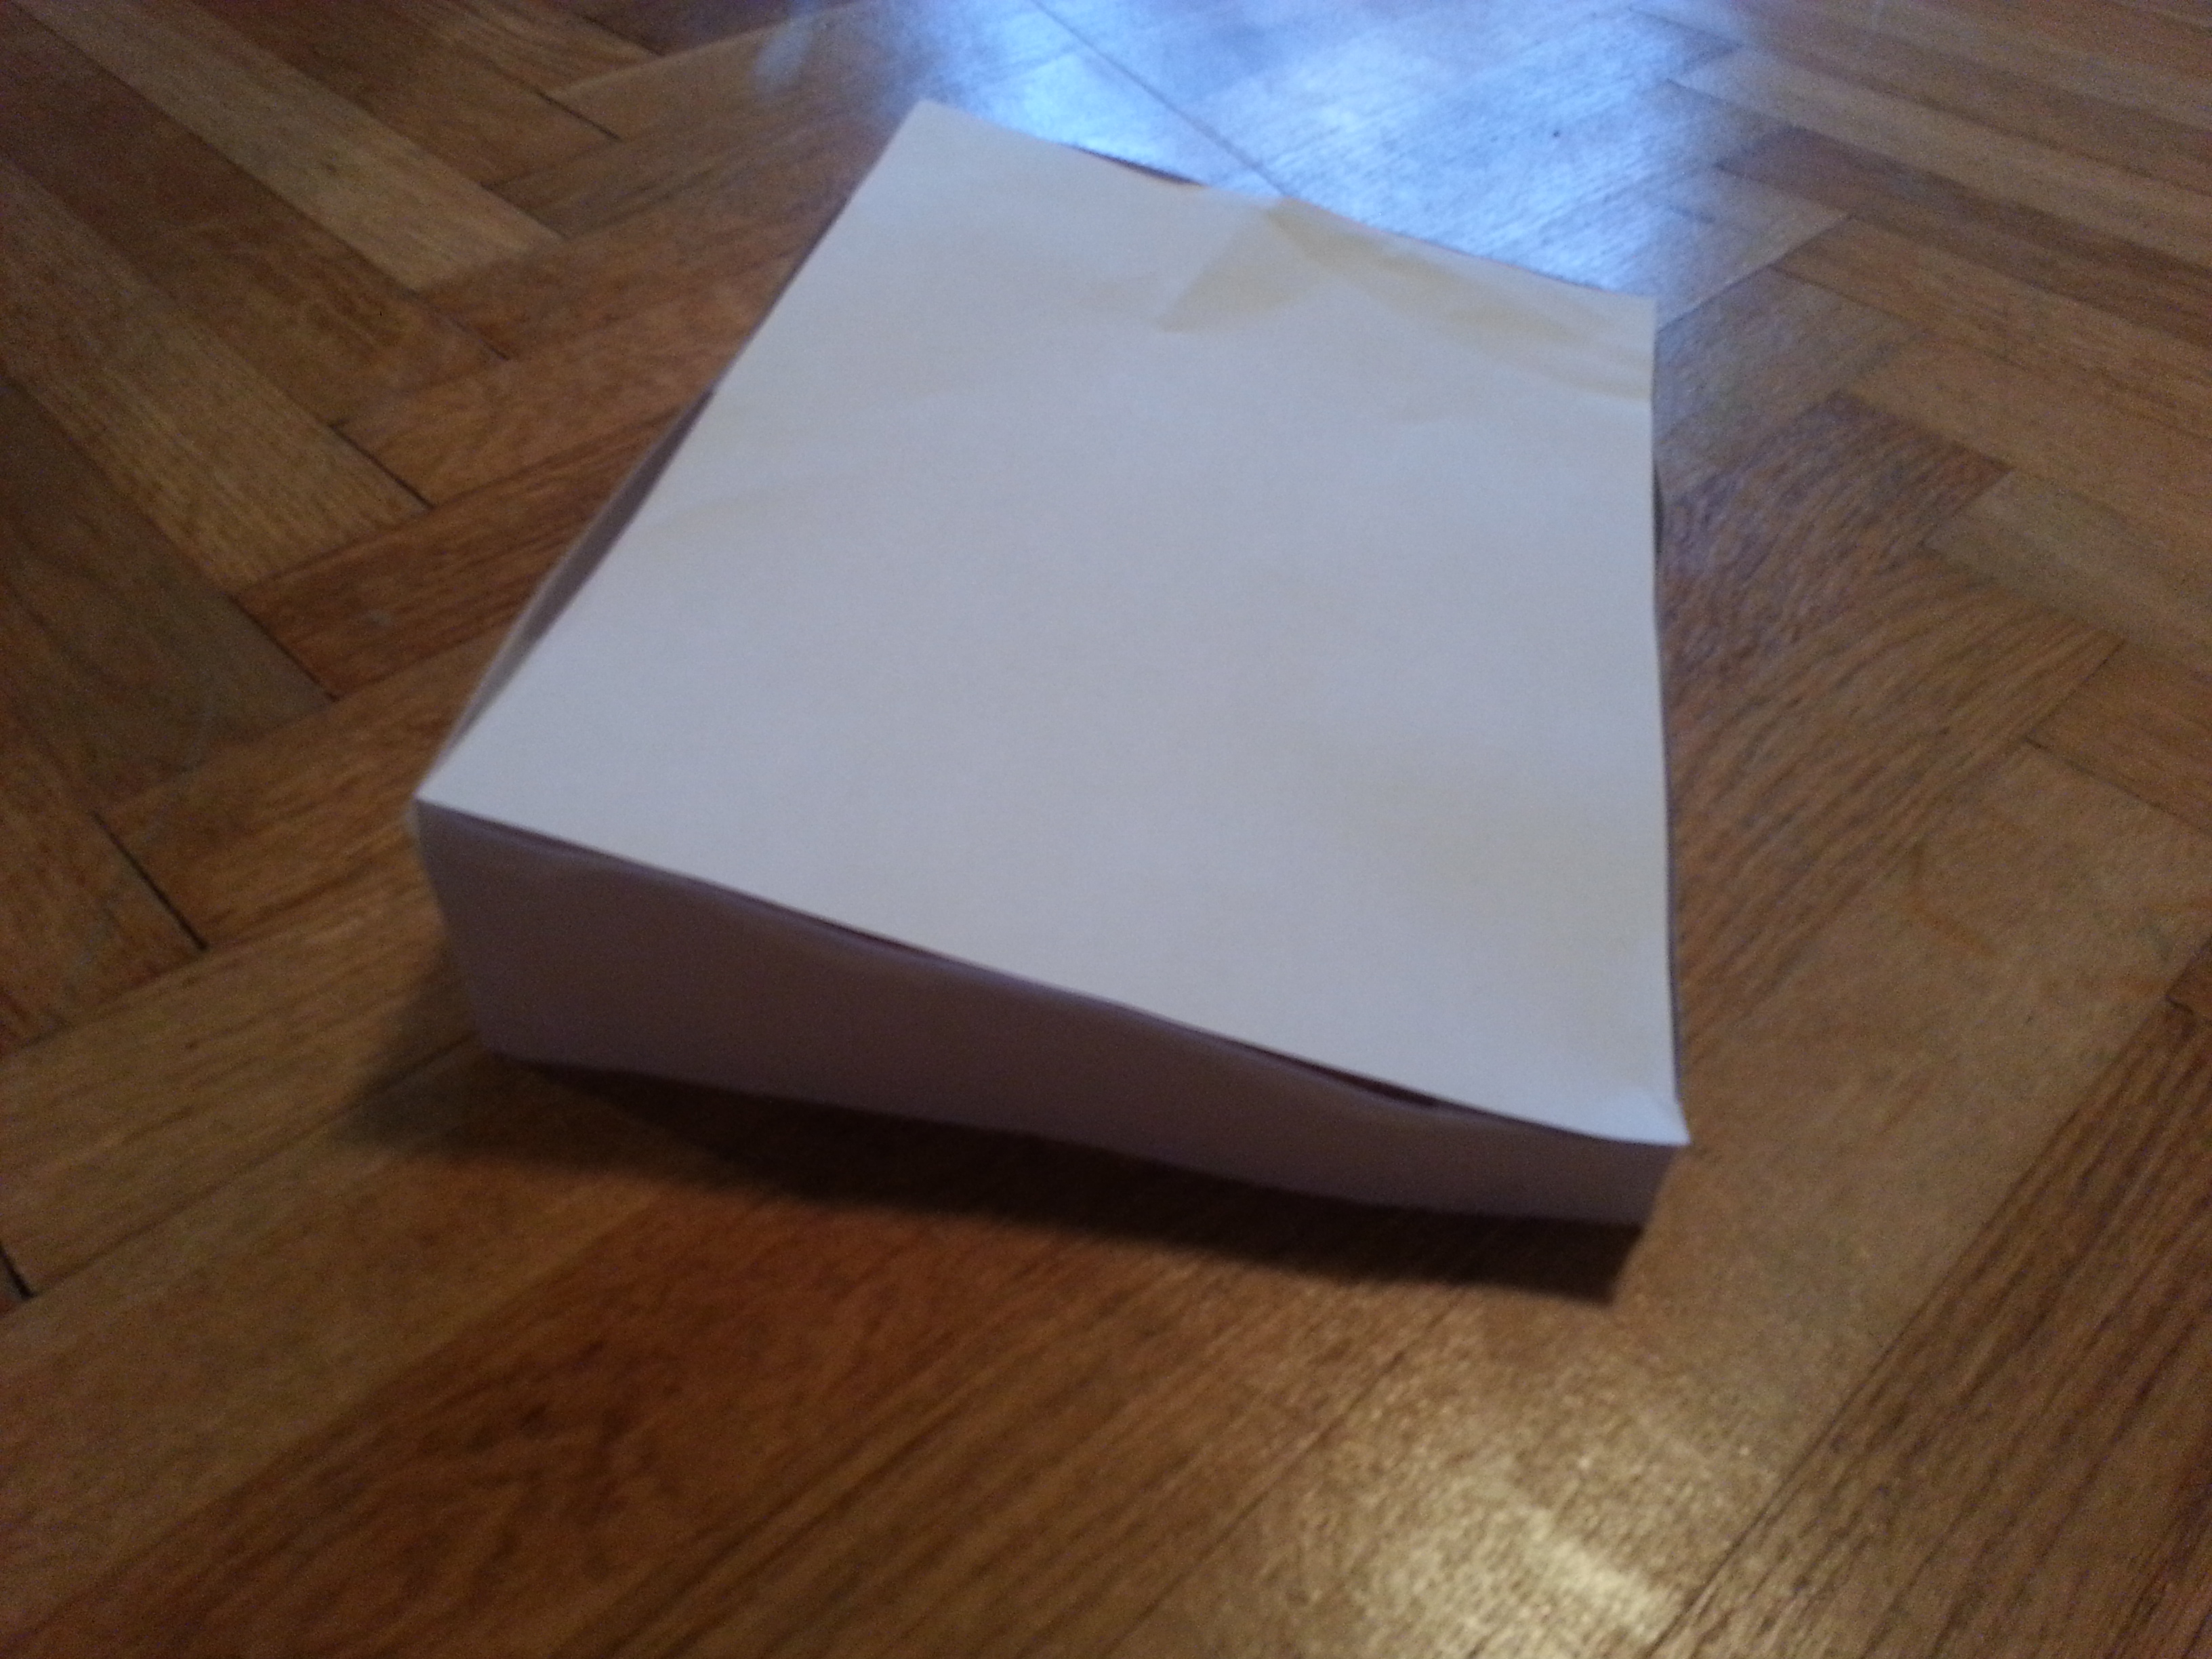
23x14cm this time. And yesterday I setup myself to actually build a real life size model, to avoid other surprises later. I used a cereal box and printed out the cutout template:
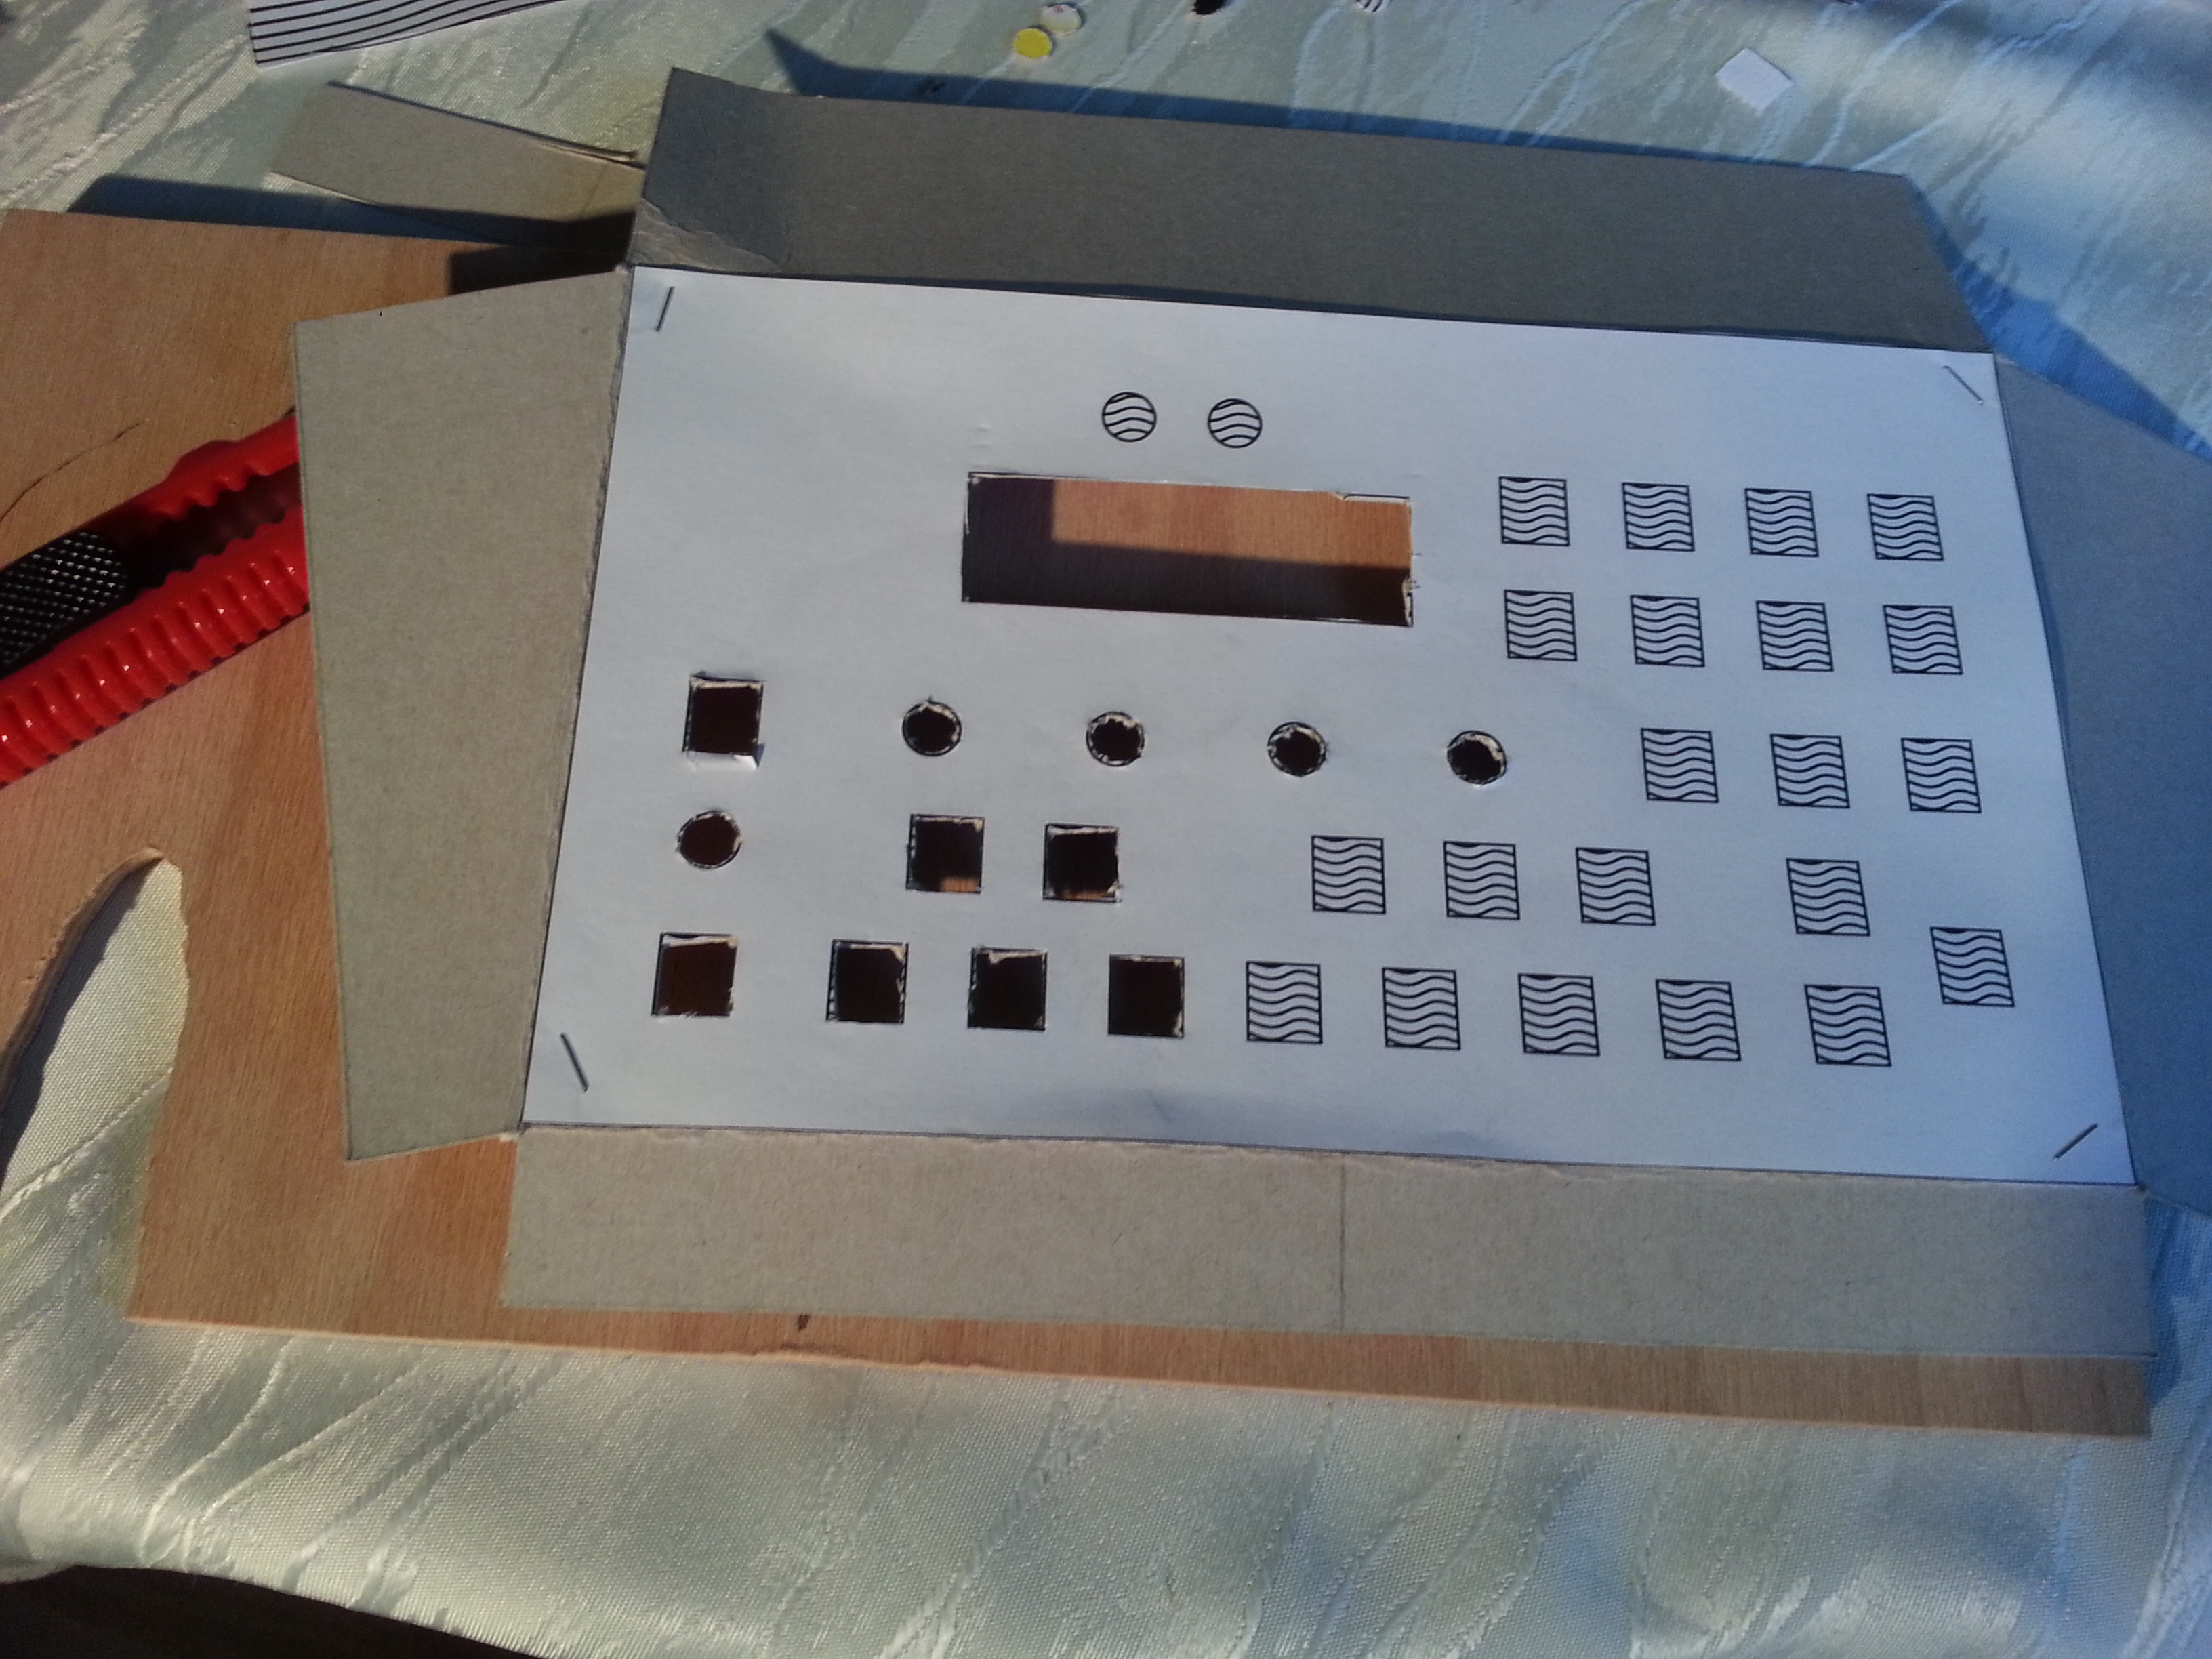
Well, that’s a helluva work! And just on cardboard! Will be even more fun to do it on the 3mm thick PVC board I will use for the “final product” :-)
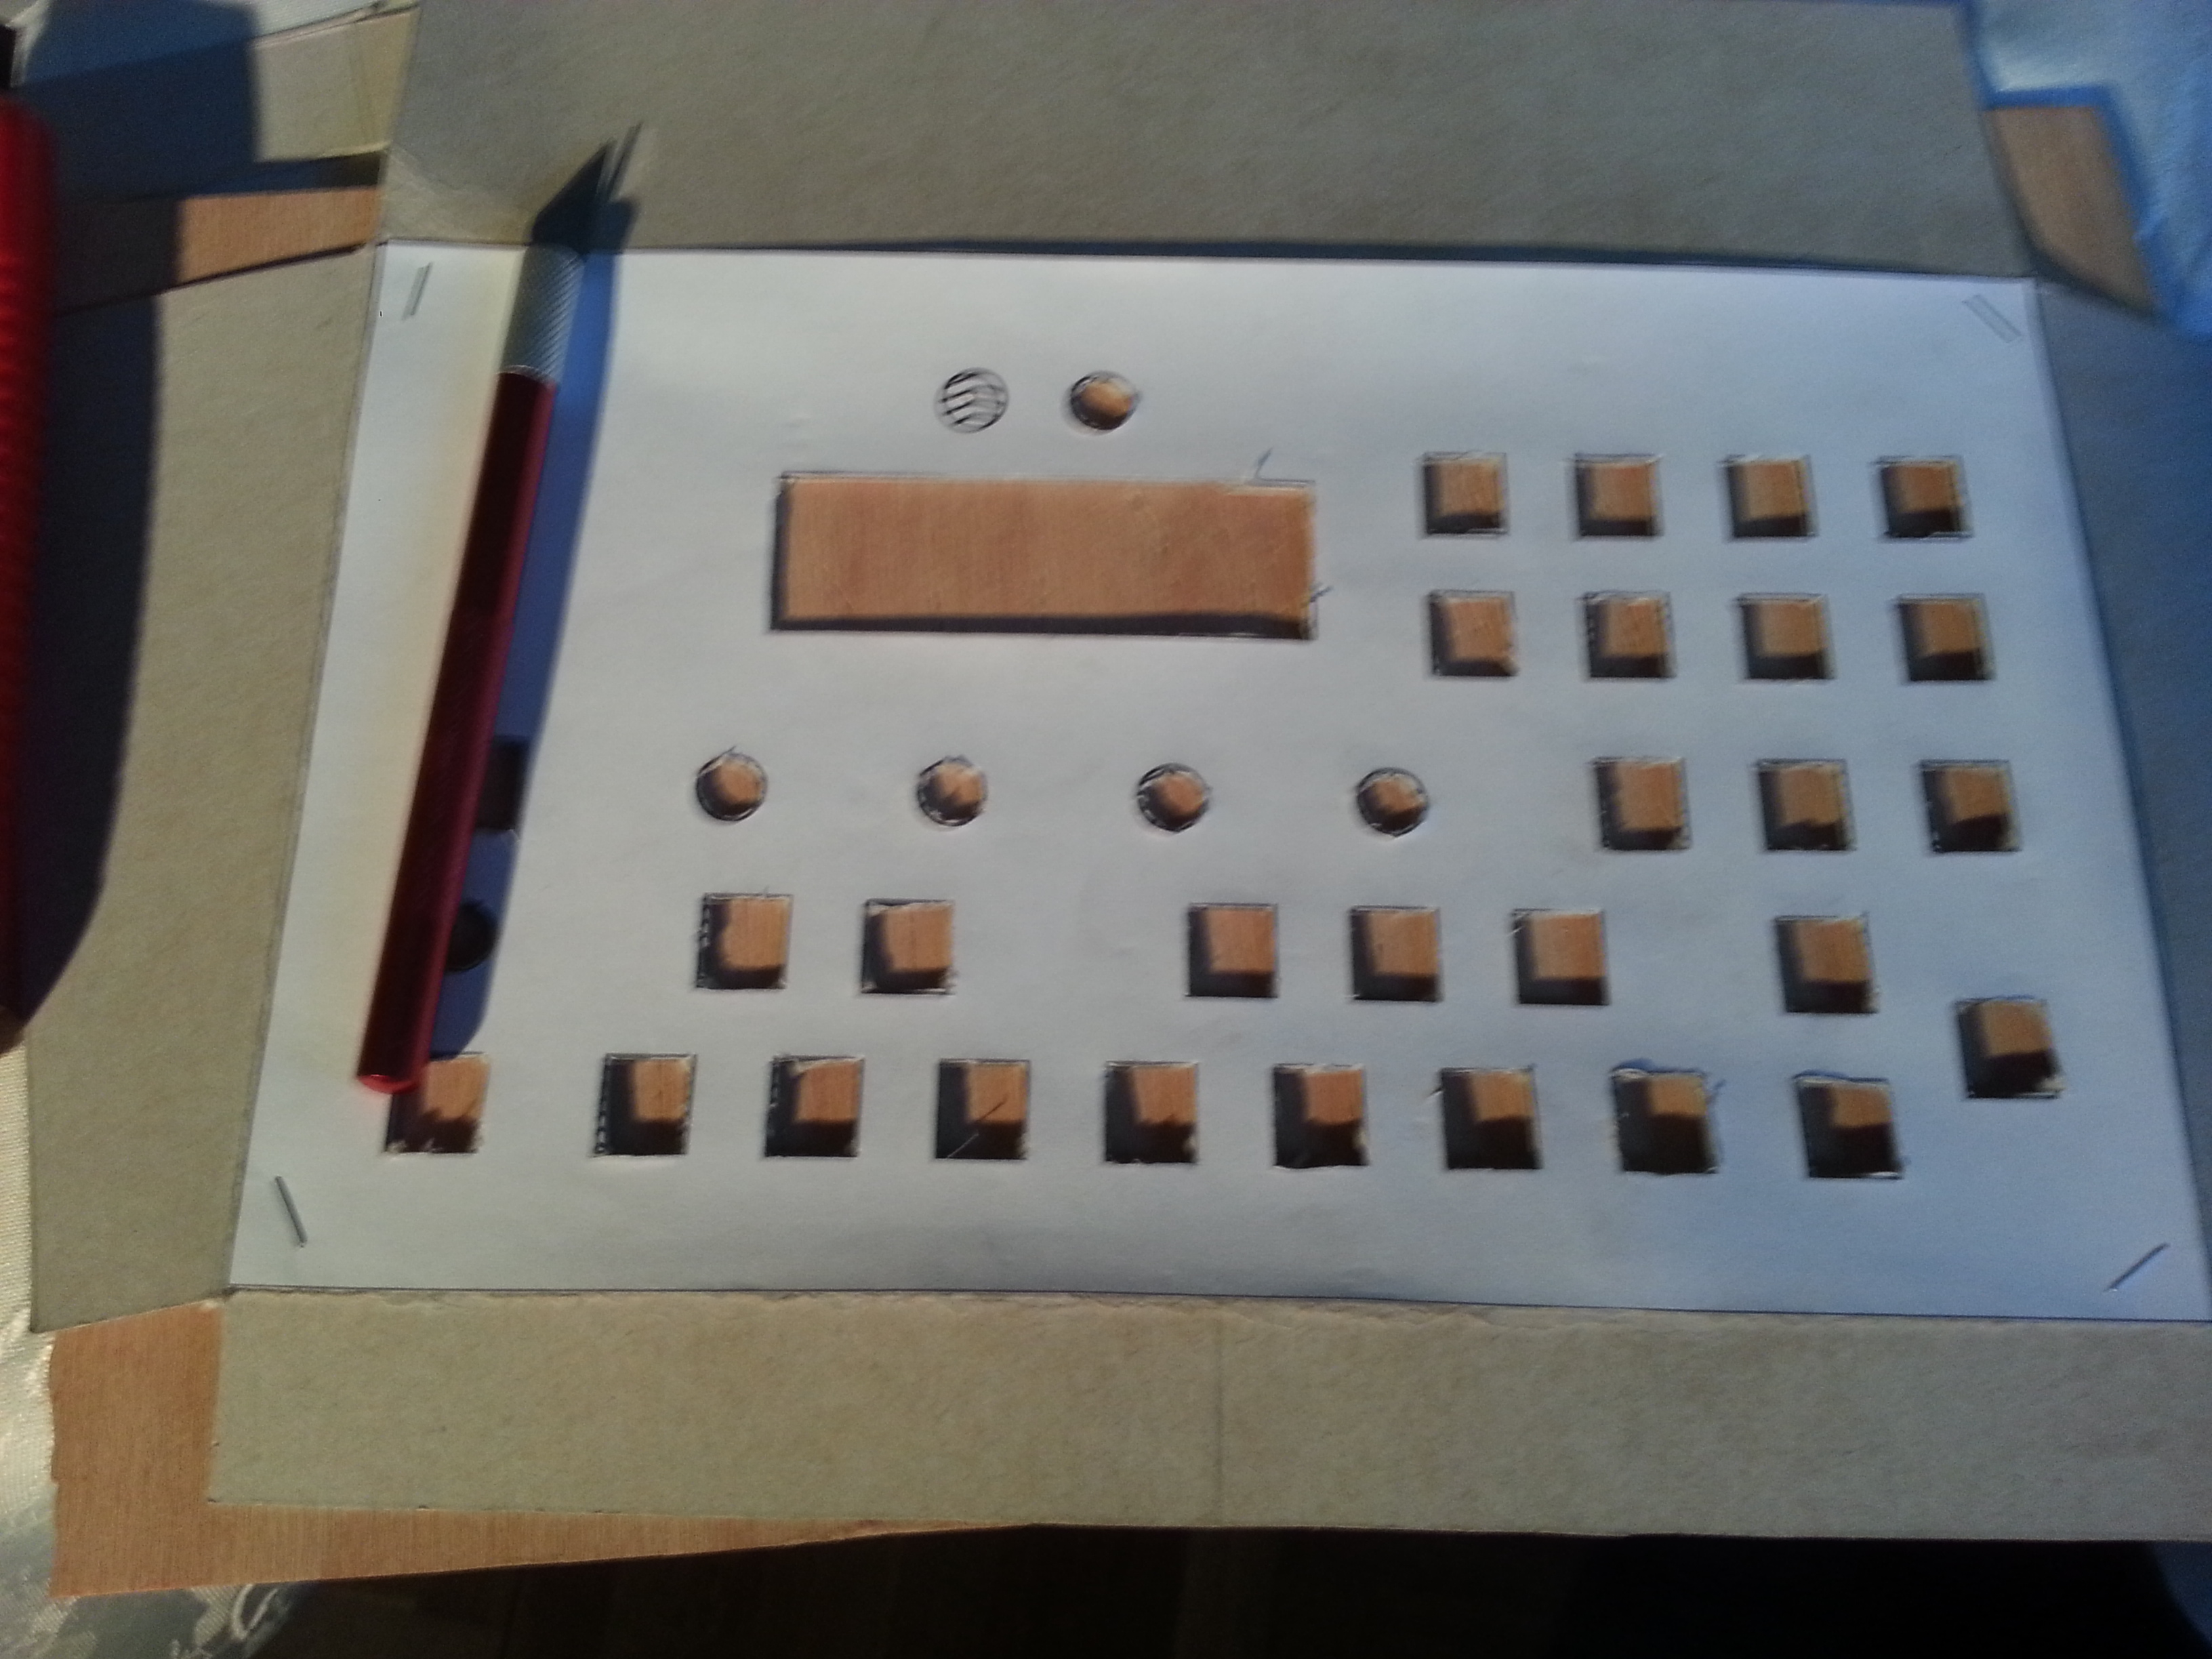
Here I’m finally done with the cutout. Next step, snapping in the components. That was easy-peasy :-)

Looks kinda cute, eh? :-) Well, the alignment is not perfect, and the knobs are somewhat cross-eyed. But hey, it’s cardboard. Hopefully will come out better with a more solid base.
All in all, it was a very good exercise. For example, I found out that the knob I would like to put on top (see the hole in the final prototype) is too close to the LCD board and doesn’t fit. The potentiometer inside is of course larger than the panel hole, and I didn’t consider the internal space requirements. Lesson learned. I guess I will have to fiddle some more with Inkscape to come up with the perfect layout.
One last picture:
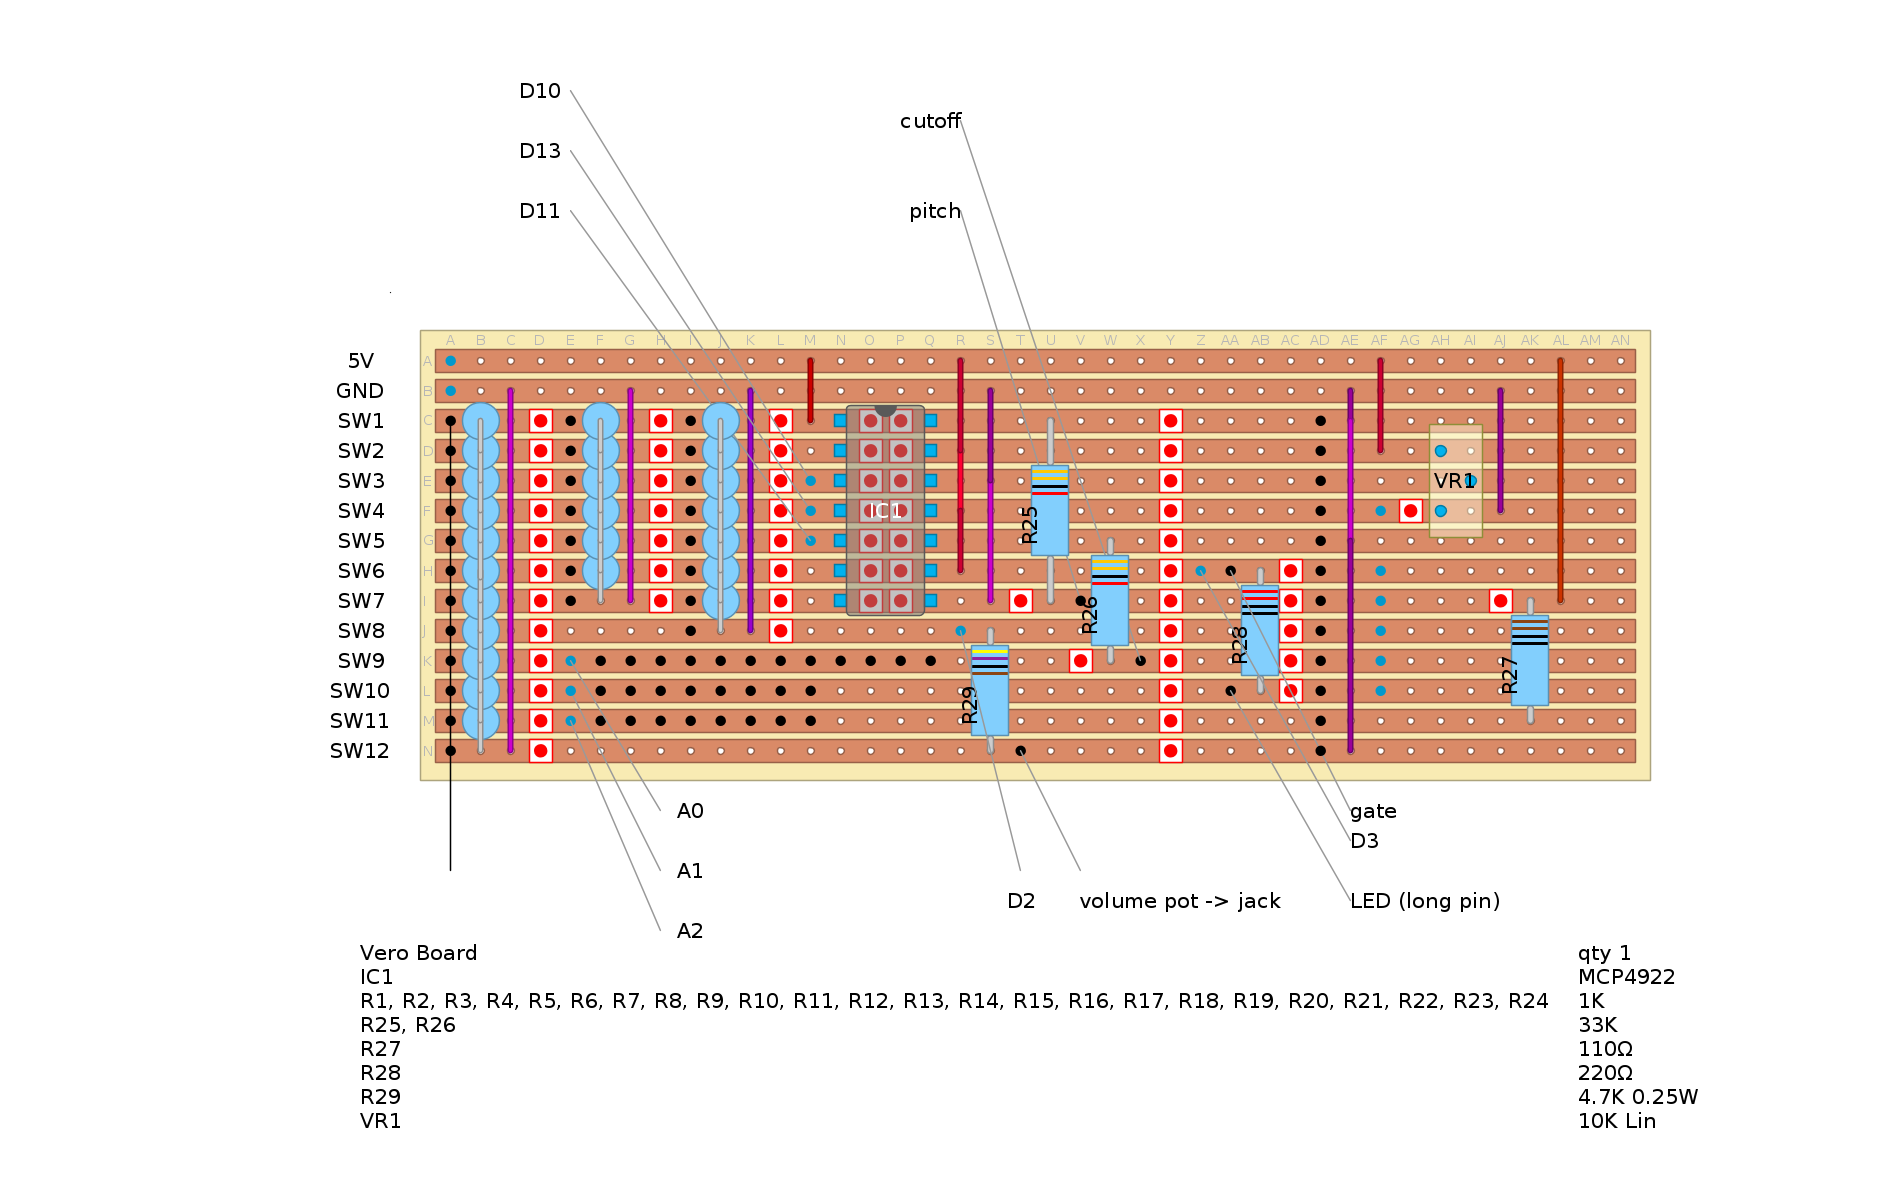
This is the not final schema of the stripboard (see first picture). Done with DIY Layout Creator, a truly wonderful small piece of software. Ok, it has some issues, but at least I can use it without feeling completely lost :-)
A final thought: when I started, my inner project manager estimated something like 50% hardware (designing the circuit, soldering etc.) and 50% software (programming the Arduino). As things evolved, I realized it’s really more like 33% hardware, 33% software and 33% pure bricolage. You know, measuring, drawing, measuring again, sawing, cutting, drilling etc. etc.
I guess that’s the essence of making :-)
cheers,
Aldo

 Fritzing
 narbotic
Comments are currently closed.